Mejora tu compresión de las películas en español
Target Audience: Spanish Level 4 students
Title: Mejora tu compresión de las películas en español
Responsibilities: Curriculum Design, Instructional Design, Visual Design, Storyboarding, and Content Design
Tools Used: VideoScribe, Apple Voice Recorder, Microsoft Word, My YouTube Channel—Edu Talk
Title: Mejora tu compresión de las películas en español
Responsibilities: Curriculum Design, Instructional Design, Visual Design, Storyboarding, and Content Design
Tools Used: VideoScribe, Apple Voice Recorder, Microsoft Word, My YouTube Channel—Edu Talk
Curriculum for mejora tu compresión de las películas en español for Spanish Level 4 Students
General Objective: The objective of this curriculum for mejora tu compresión de las películas en español for Spanish Level 4 Students is to improve students’ listening and cultural comprehension through the analysis of Spanish-language movies. Students will learn advanced strategies to understand dialogue, cultural context, and idiomatic expressions in Spanish-speaking movies.
Duration: The curriculum can be completed in approximately 8 weeks, with weekly sessions of 2 hours each.
Content:
Week 1-2: Content Prediction
- Introduction to content prediction in Spanish-language movies.
- Analysis of titles, synopses, and promotional material to anticipate the plot.
- Practical exercises in content prediction based on selected movies.
Week 3-4: Knowledge of Your Own Language
- Identification of similarities between Spanish and students’ native language.
- Analysis of common Latin roots in Spanish and English.
- Practice in recognizing cognates and false cognates in the context of movies.
Week 5-6: Cultural Knowledge
- Research on Hispanic culture related to selected movies.
- Study of customs, traditions, values, and idiomatic expressions specific to Hispanic regions represented in the movies.
- Discussion on how cultural context influences the plot and characters of the movies.
Week 7-8: Advanced Practice and Skill Reinforcement
- Gradual incorporation of Spanish subtitles to improve listening comprehension.
- Exercises in handling unknown language: deducing meaning from context and visual and auditory clues.
- Analysis of complex dialogues to practice inference of meaning.
- Review and feedback sessions to reinforce skills and answer questions.
Evaluation:
- Weekly assessments based on listening comprehension exercises, discussions on cultural context, and dialogue analysis.
- Final project: In-depth analysis of a chosen movie, including a written report and an oral presentation on cultural, linguistic, and cinematic aspects.
Additional Resources:
- Access to Spanish-language movies from a variety of genres and regional accents.
- Dictionaries and online tools for researching unfamiliar vocabulary.
Development of Whiteboard animation using Video Scribe for mejora tu compresión de las películas en español
Before starting the development of my whiteboard animation using VideoScribe, I made sure to have two essential components:
Script: I created a script to outline the content and theme of my animation.
Voiceover: I recorded my voice to match the script I wrote.
Now, let’s go through the steps for creating a great whiteboard animation with VideoScribe.
Step 1: Creating the Narrative I carefully read the script I wrote. Then, I came up with a story and characters in my mind that matched the script. If using text was better than characters in some places, I went with text.
Step 2: Getting Started with Video Scribe I logged into Video Scribe and started a new project on a blank canvas. Video Scribe lets you zoom in up to 1000% for both characters and texts.
Step 2: Getting Started with Video Scribe I logged into Video Scribe and started a new project on a blank canvas. Video Scribe lets you zoom in up to 1000% for both characters and texts.
Step 3: Adding Voiceover I added a voiceover to Video Scribe by clicking on the microphone icon and uploading my audio file.
Step 4: Adding Text To begin the animation, I started with text to convey the main idea. I used the “Add new text” option to enter the text, customize the font, size, and color, and then positioned and sized the text on the screen.
Step 4: Adding Text To begin the animation, I started with text to convey the main idea. I used the “Add new text” option to enter the text, customize the font, size, and color, and then positioned and sized the text on the screen.
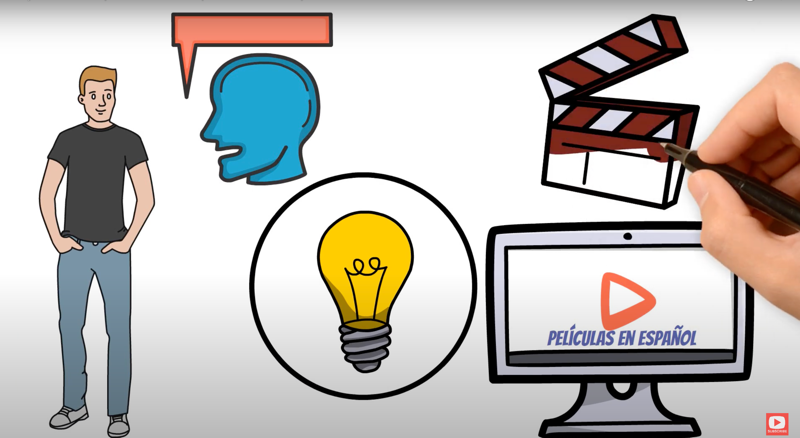
Step 5: Including Images I enhanced the story with various images that fit the planned storyline. Adding images was simple; I just clicked “add new image” to access Video Scribe’s character library.
Step 6: Adjusting Animation Features Before finalizing text or image additions, I adjusted animation settings, like how the text or characters appear, move, or fade in. There were also options for customizable hands to add a personal touch.
Step 6: Adjusting Animation Features Before finalizing text or image additions, I adjusted animation settings, like how the text or characters appear, move, or fade in. There were also options for customizable hands to add a personal touch.
Step 7: Setting the Camera I adjusted the camera settings for each segment of the animation, ensuring text and images were placed exactly according to my specific preferences.
Step 8: Fine-Tuning the Animation With text, images, and camera settings in place, I assigned animation time, pause time, and transitions where necessary, syncing them with the voiceover.
Step 8: Fine-Tuning the Animation With text, images, and camera settings in place, I assigned animation time, pause time, and transitions where necessary, syncing them with the voiceover.
Step 9: Previewing and Refinement I watched a preview of the animation by clicking on the first slide and pressing play. If anything seemed off, I adjusted the timing to match the voiceover perfectly.
Step 10: Exporting the Animation After refining, I exported the animation by clicking the share button, selecting download, choosing the AVI format and quality settings, and designating the export location. Then, I started the rendering process.
Step 10: Exporting the Animation After refining, I exported the animation by clicking the share button, selecting download, choosing the AVI format and quality settings, and designating the export location. Then, I started the rendering process.
Step 11: Converting to MP4 The final animation, in AVI format, was converted to MP4 using an online converter, ensuring compatibility and accessibility.